Thursday, November 30, 2006
Tuesday, November 28, 2006
Xbox 360 HD-DVD
Yes I will be picking up one of these bad boys. I am pretty much back into my Home Theater after taking a hiatus. I have a few new toys to play with. Also there are a few movies coming out that will be either on Blue-Ray or on HD-DVD. Now only if Microsoft will hurry up with the damn 360 HDMI cable.
Monday, November 20, 2006
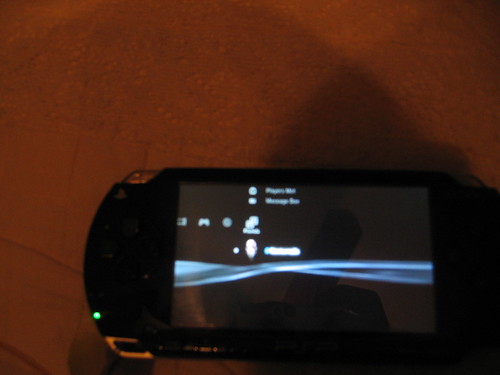
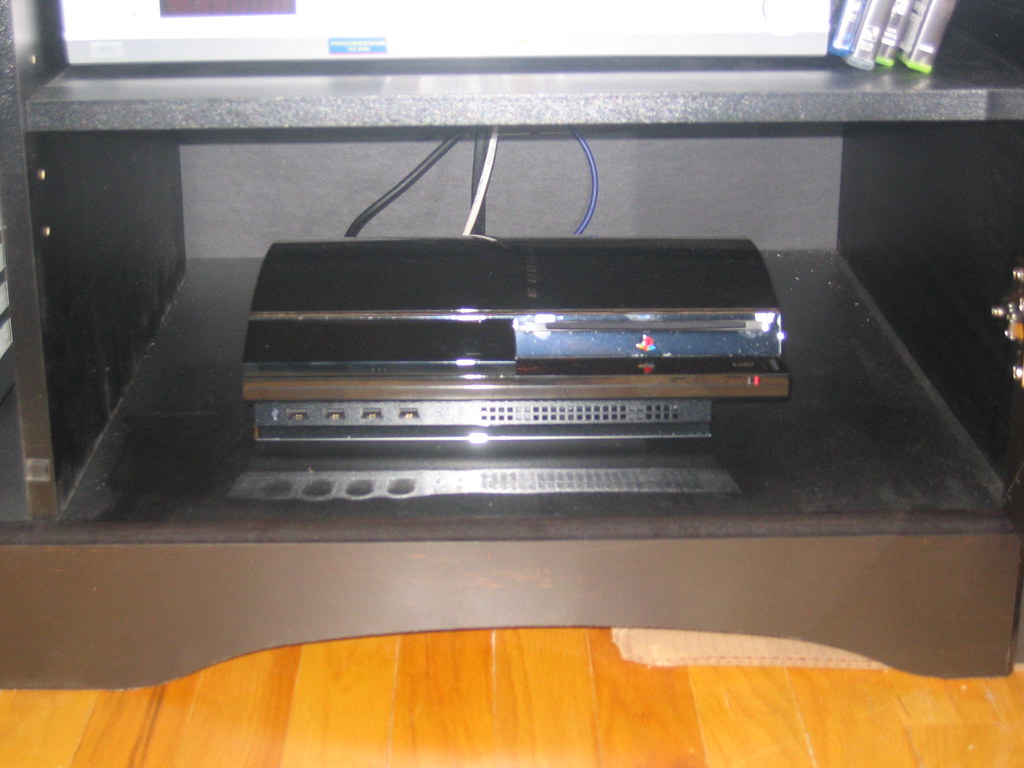
PSP 3.00 update is here
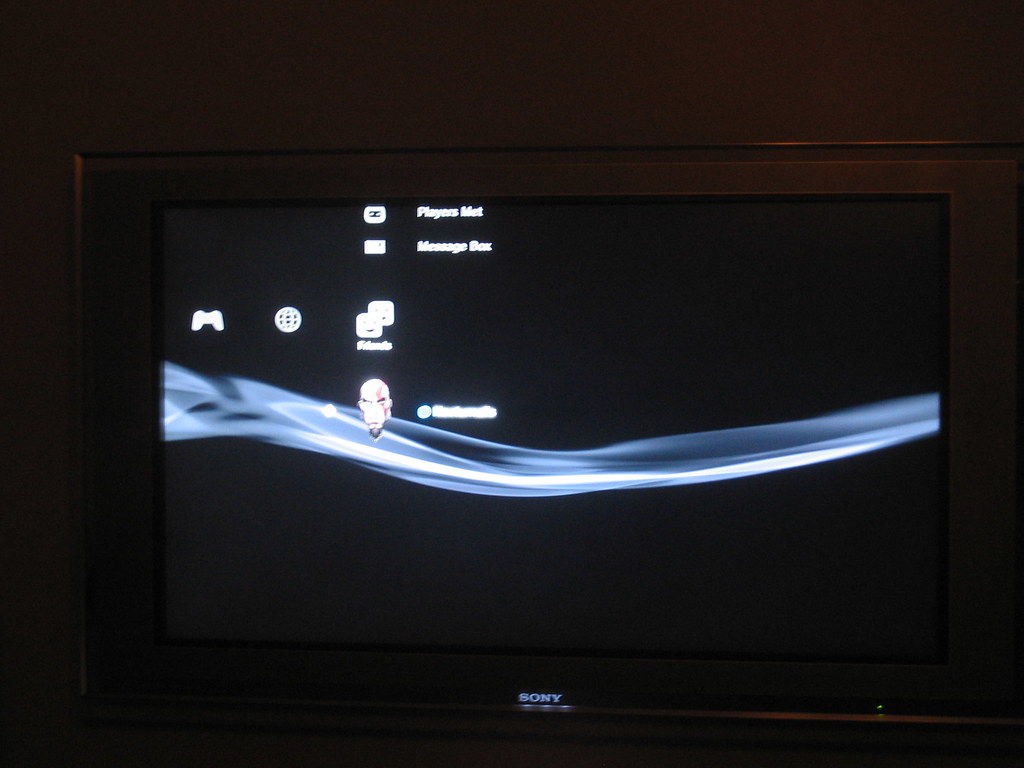
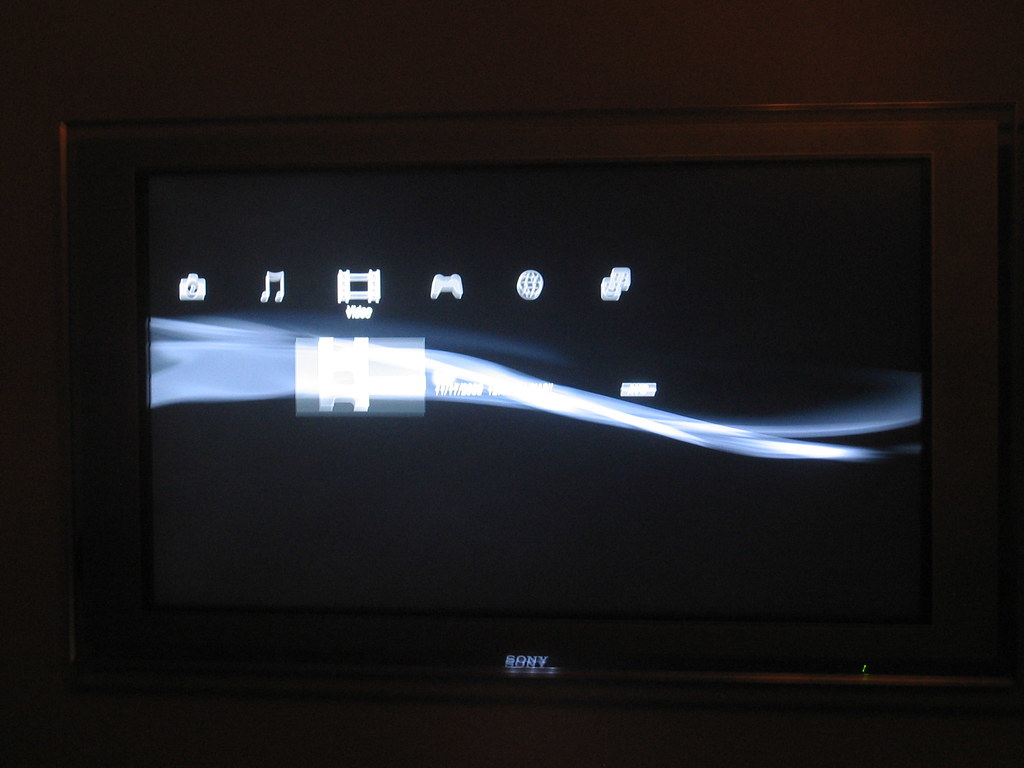
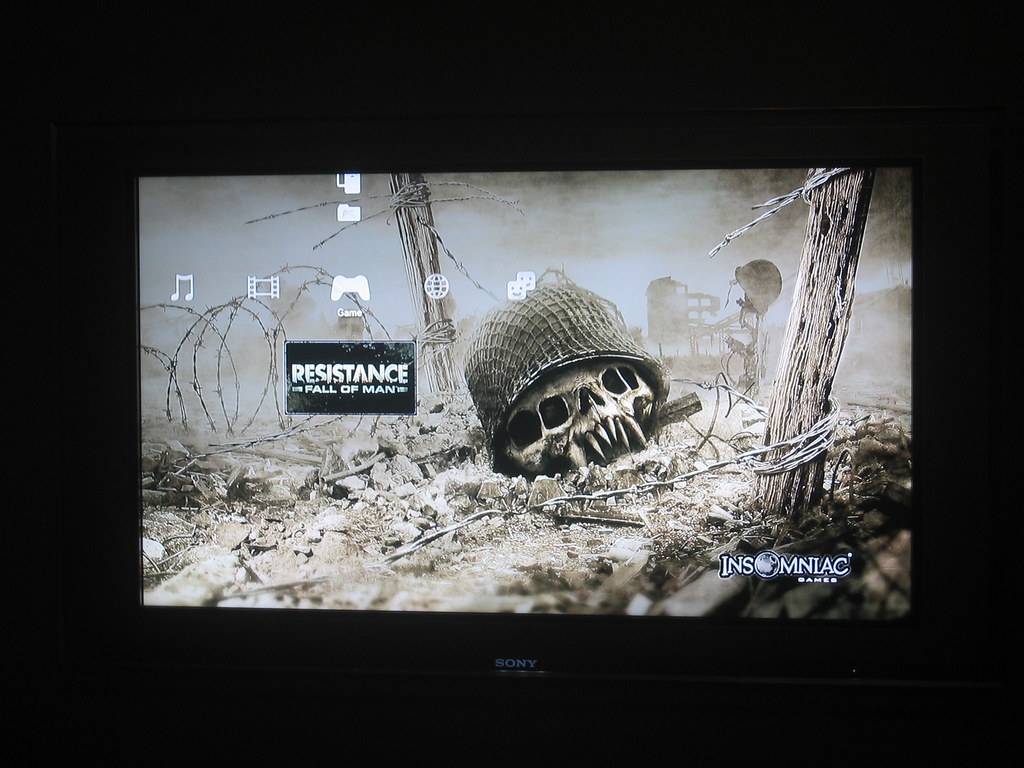
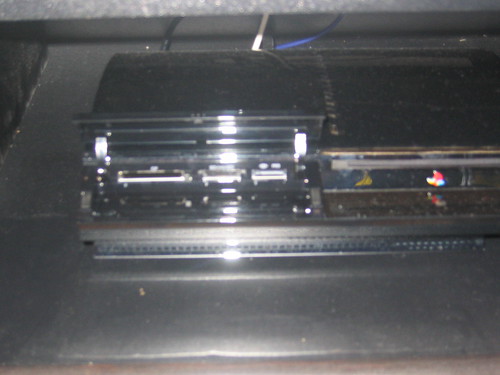
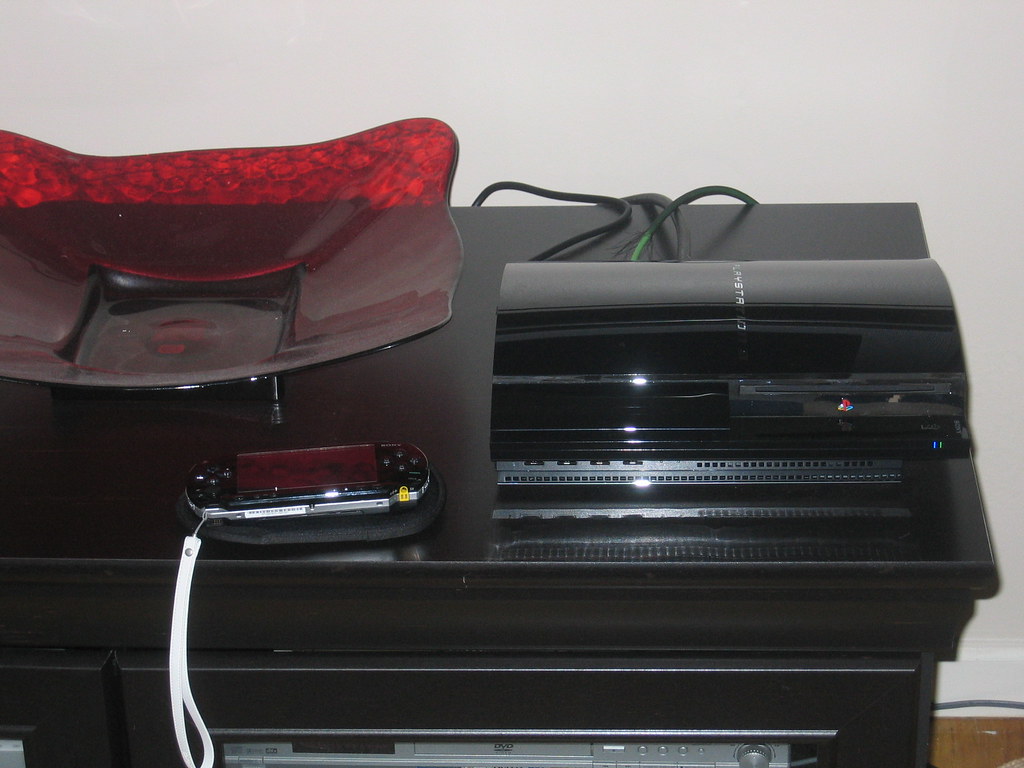
The 3.00 update finally arrived. You can control the PS3 with this update. Here are a few blurry pics I took right after updating.
What I did notice though is that all connection to my wireless AP to the internet is gone when the PSP to PS3 remote play is active. Not sure what the deal is there but this is what just happened. I had to kill the PSP to PS3 connection to get back online to post these pics.

Here is the Lair download from the PS3 on the PSP. Sorry for the blur.
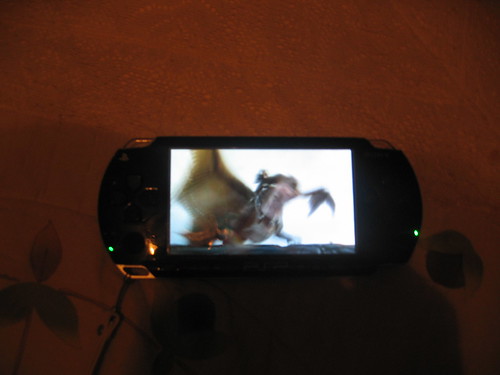
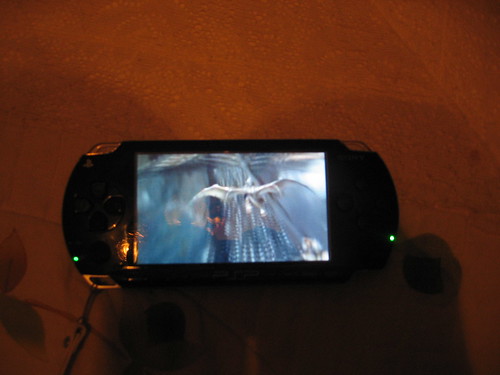
More to come when I figure the rest of this out and download more stuff :)
What I did notice though is that all connection to my wireless AP to the internet is gone when the PSP to PS3 remote play is active. Not sure what the deal is there but this is what just happened. I had to kill the PSP to PS3 connection to get back online to post these pics.


Here is the Lair download from the PS3 on the PSP. Sorry for the blur.


More to come when I figure the rest of this out and download more stuff :)
HR20 DTV DVR reciever bugs
Unwatchable recording. This is driving me up the wall. The whole idea of having a DVR is to record and watch when ever you want. Well I can't watch crap that I want that I have recorded. This damn bug is getting on my nerves.
Here is what the problem looks like.
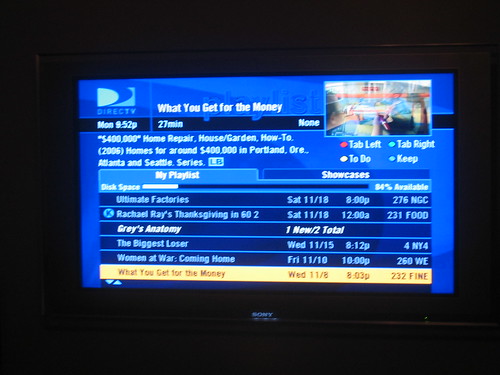
When you press play you get a black screen and on the lower right it asks you to keep or delete. When you press keep you are back to square one.
Here is what the problem looks like.

When you press play you get a black screen and on the lower right it asks you to keep or delete. When you press keep you are back to square one.
Friday, November 17, 2006
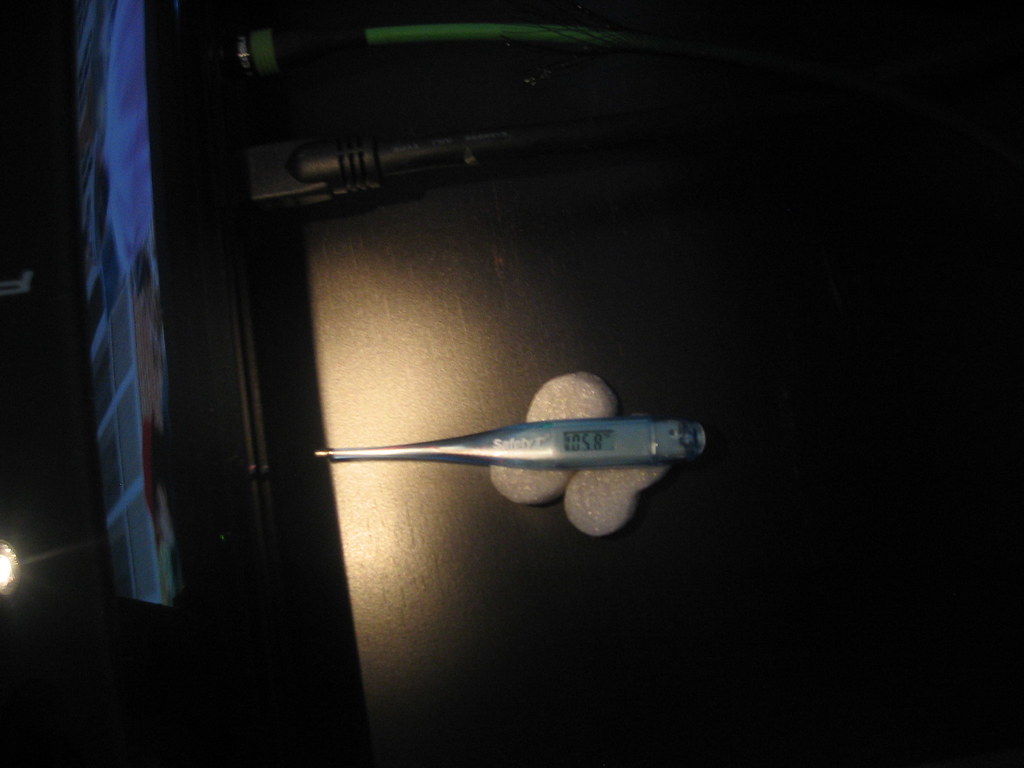
Pretty HOT!!!!
This is the only thermometer I could find in my house. It's for my baby girl :) As you have see the PS3 has a hot exhaust. The temp went up to 109.2F then the thermometer frizzed out.

Thursday, November 16, 2006
Some work to do. DIY mounting an LCD.
So the very next weekend after getting the Sony I tore up the walls in the house. Litterally. Why? To hang the set on the wall :) I went to best buy and got the Sanus VisionMount Wall Mount for Most 30-50" Flat-Panel TVs - Black . The plan was to hide all the wires. Sounds easy huh! WRONG!
Here is what needed to be done;
1.I had to find the studs in the wall
2.mark the location
3.draw a straight level line where the mount would go
4.cut a hole for where the wires would exit to the back of the TV set
5.cut a hole in the wall for were the wire would exit to the back of all the devices
6.cut a hole in the wall near the celing to bring extra satelite and network feed to the back of the devices.
7.cut another hole for the outlet at the back of the TV
8.bring the power outlet up to the back of the TV
Here are the materials I needed;
1.stud finder
2.screwdriver
3.drill
4.drywall screws
5.replacement drywall
6.drywall putty
7.drywall tape
8.drywall saw
9.drywall knife
10.wire boxes
11.Romax electic wire (code requirement in my area)
12.electric wire box
13.outlet
14.outlet cover
15.8ft componet cables (2 sets)
16.8ft audio cables
17.15ft HDMI cable
18.time time time
Before doing any project I always research to make sure I that I have everything covered. The day before I set out to make all this happen I found some bad news that would almost crap this entire project. The info that I found out was that you cannot run power cables in the walls. I almost went into this thing thinking that I could just cut 2 holes and throw everything in and out them. Well technically you can do whatever you want really but b/c this particular thing is against building code if something were to happen like your walls catch fire you are 100% at fault. What that means is that you won't be able to just call up the insurance company and ask for a check. Once they find out you did a DIY job without doing homework and see that you ran non coded power cable in your walls you are pretty much SOL.
With that said I had to rethink my approach to this project. I thought out how to bring up an outlet to the back of where the TV would be. I went to my local Home Depot and spoke to an electric guy. He gave me the Romax wire b/c that was the recommended wire that was within code for my area. Now I have the plan and all the materials
I began my work at 4am Suturday morning. First finding studs and marking holes. Then I drilled the holes for the mount screws. Then hung the mount. Then came cutting and drilling holes and running extra feed cable from network and satelite dish. After I got that out the way it was time to put the power to the living room and bring up the power outlet to the back of the TV. I have to say that part was what had me concerned the most. I have never done electrical work before. I guess thats b/c I almost shocked myself when I was a kid. Anyway the Romax was run and the outlet was installed. Time to test. I got a lamp and plugged it in and we have light.
The next step was to patch up all the holes. I cut the drywall to the correct size and plaster/taped them up. While that was drying I pulled the cables through the holes. I was think it mid afternoon and I can finish by night. Then the unthinkable happend. The power went out in my house. My wife comes running out asking what I did and if I plugged anything in. It wasn't me. Come to find out a transformer in the neighborhood blew out due to the rain that was falling all day. while waiting for the lights to come back on I took a shower and cleaned up a bit. The lights came back on shortly after. I got my brother to help me hang the TV for the first time. What a beautiful sight.
It was already night and all I had left was to sand, prime and repaint the wall. At least my TV was mounted. The next day I covered the TV with a garbage bag and sanded the wall. Then I primed and pained.
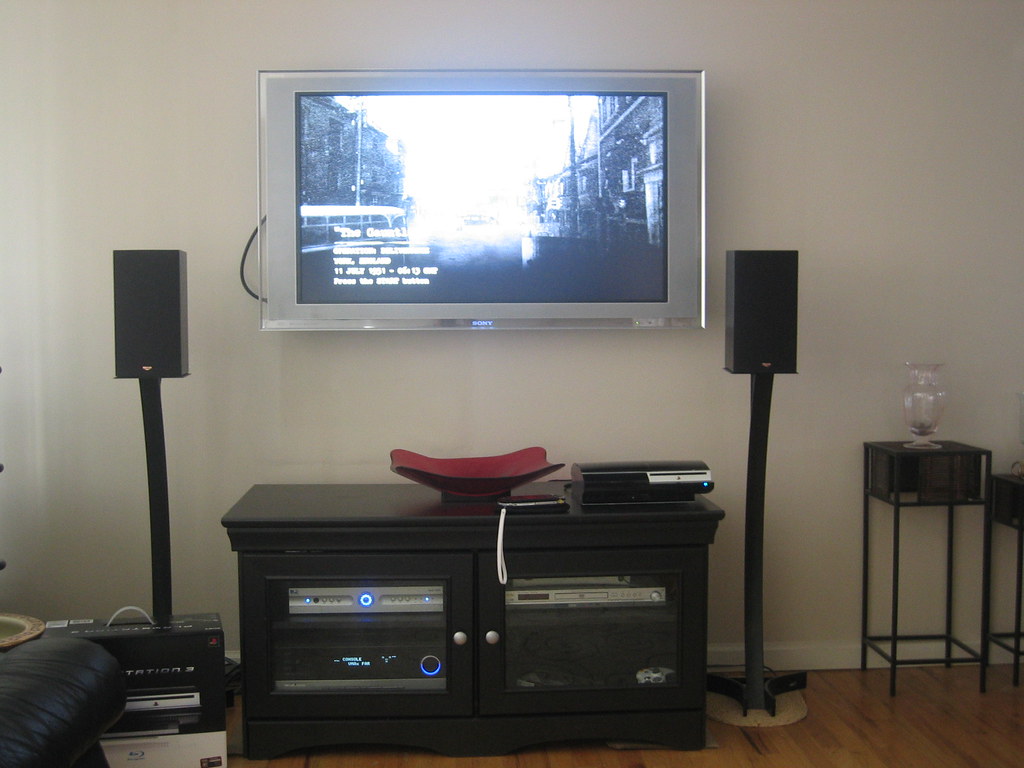
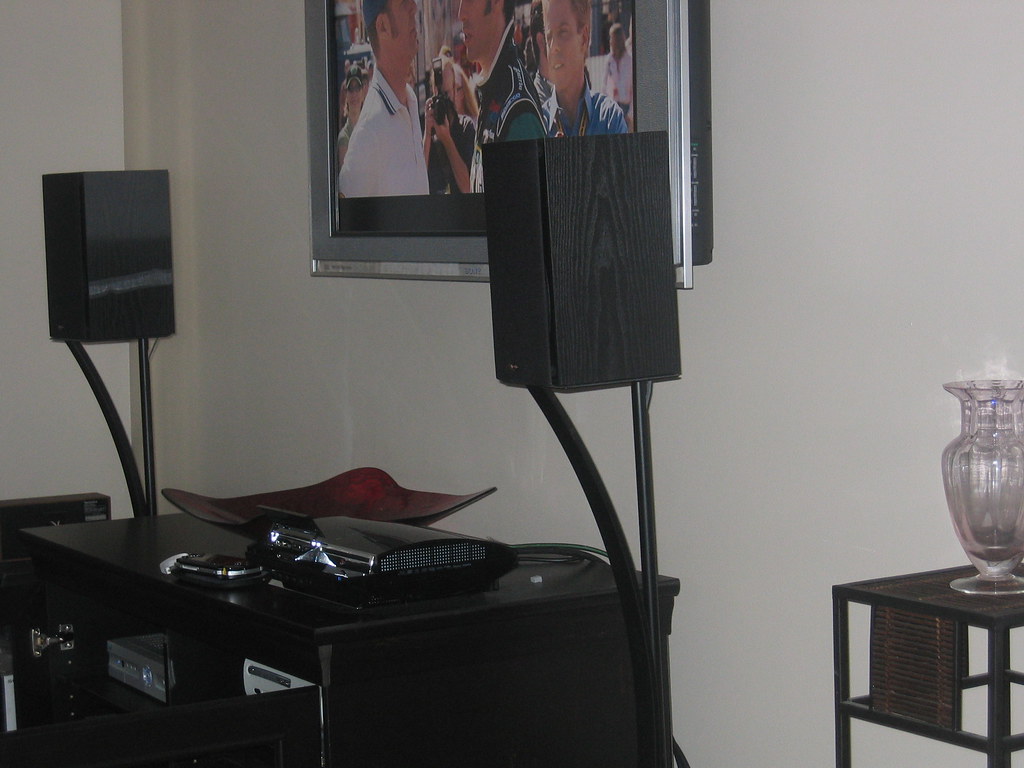
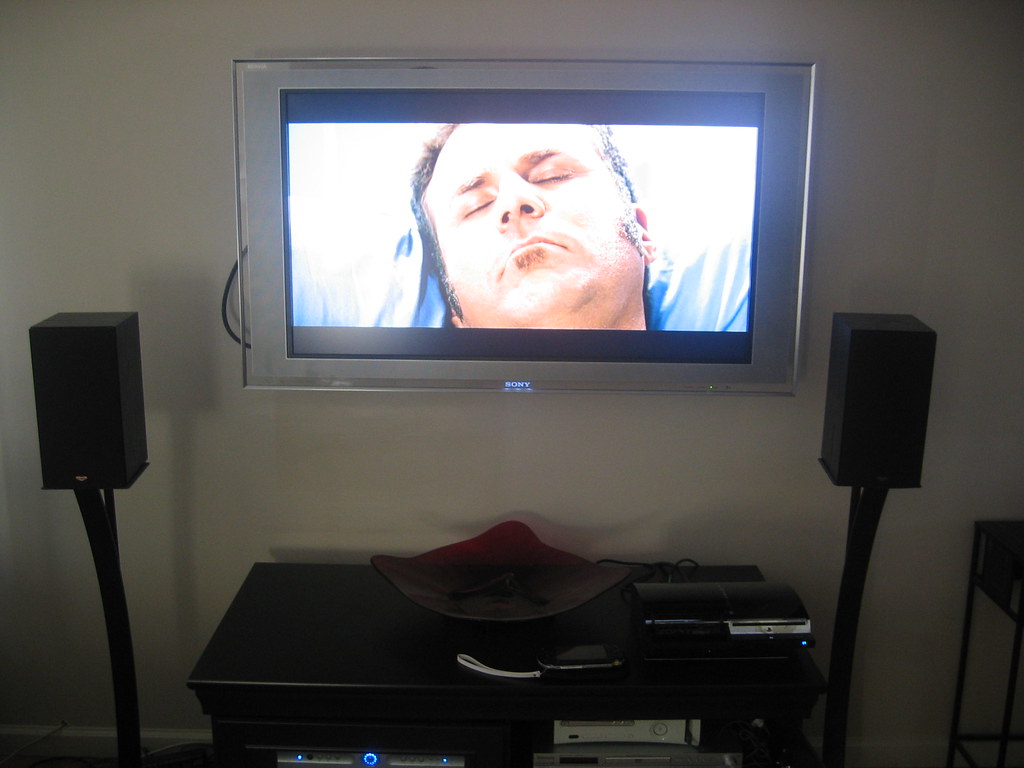
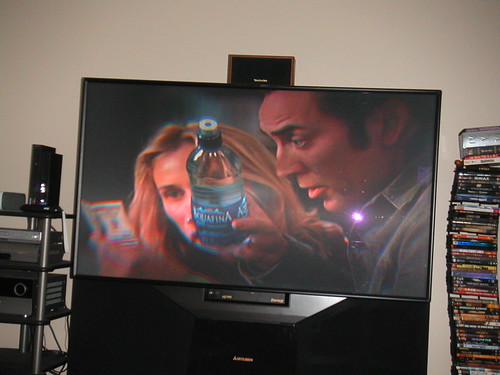
Here are pics of the end result of my work.
(I didn't take pics of the painted wall yet)
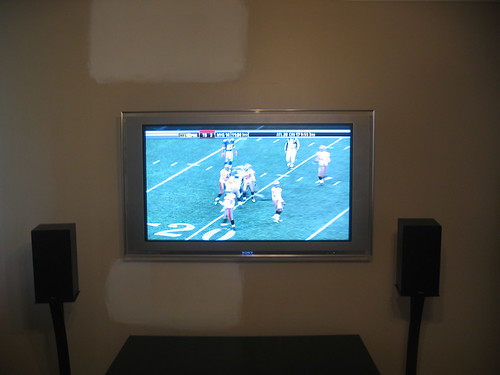

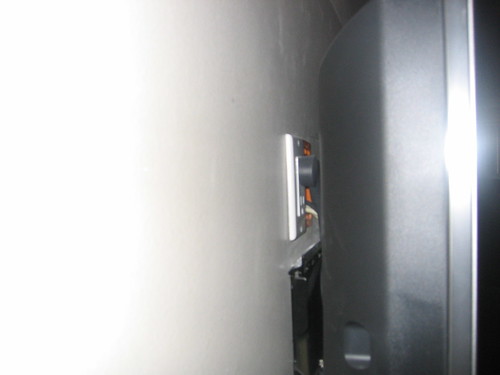
The back, very flat against the wall.
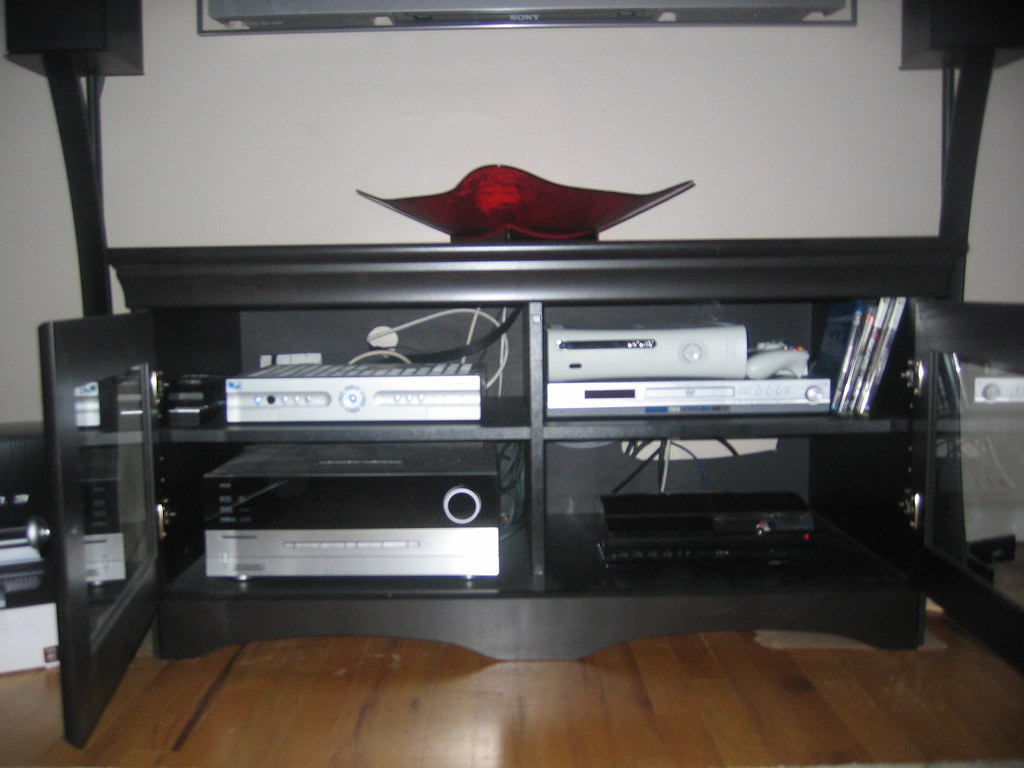
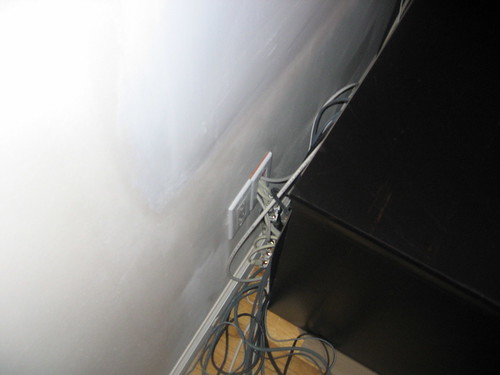
Down behind the credenza. Thats the outlet I tapped into to bring up behind the TV. And it does still work ;)
Here is what needed to be done;
1.I had to find the studs in the wall
2.mark the location
3.draw a straight level line where the mount would go
4.cut a hole for where the wires would exit to the back of the TV set
5.cut a hole in the wall for were the wire would exit to the back of all the devices
6.cut a hole in the wall near the celing to bring extra satelite and network feed to the back of the devices.
7.cut another hole for the outlet at the back of the TV
8.bring the power outlet up to the back of the TV
Here are the materials I needed;
1.stud finder
2.screwdriver
3.drill
4.drywall screws
5.replacement drywall
6.drywall putty
7.drywall tape
8.drywall saw
9.drywall knife
10.wire boxes
11.Romax electic wire (code requirement in my area)
12.electric wire box
13.outlet
14.outlet cover
15.8ft componet cables (2 sets)
16.8ft audio cables
17.15ft HDMI cable
18.time time time
Before doing any project I always research to make sure I that I have everything covered. The day before I set out to make all this happen I found some bad news that would almost crap this entire project. The info that I found out was that you cannot run power cables in the walls. I almost went into this thing thinking that I could just cut 2 holes and throw everything in and out them. Well technically you can do whatever you want really but b/c this particular thing is against building code if something were to happen like your walls catch fire you are 100% at fault. What that means is that you won't be able to just call up the insurance company and ask for a check. Once they find out you did a DIY job without doing homework and see that you ran non coded power cable in your walls you are pretty much SOL.
With that said I had to rethink my approach to this project. I thought out how to bring up an outlet to the back of where the TV would be. I went to my local Home Depot and spoke to an electric guy. He gave me the Romax wire b/c that was the recommended wire that was within code for my area. Now I have the plan and all the materials
I began my work at 4am Suturday morning. First finding studs and marking holes. Then I drilled the holes for the mount screws. Then hung the mount. Then came cutting and drilling holes and running extra feed cable from network and satelite dish. After I got that out the way it was time to put the power to the living room and bring up the power outlet to the back of the TV. I have to say that part was what had me concerned the most. I have never done electrical work before. I guess thats b/c I almost shocked myself when I was a kid. Anyway the Romax was run and the outlet was installed. Time to test. I got a lamp and plugged it in and we have light.
The next step was to patch up all the holes. I cut the drywall to the correct size and plaster/taped them up. While that was drying I pulled the cables through the holes. I was think it mid afternoon and I can finish by night. Then the unthinkable happend. The power went out in my house. My wife comes running out asking what I did and if I plugged anything in. It wasn't me. Come to find out a transformer in the neighborhood blew out due to the rain that was falling all day. while waiting for the lights to come back on I took a shower and cleaned up a bit. The lights came back on shortly after. I got my brother to help me hang the TV for the first time. What a beautiful sight.
It was already night and all I had left was to sand, prime and repaint the wall. At least my TV was mounted. The next day I covered the TV with a garbage bag and sanded the wall. Then I primed and pained.
Here are pics of the end result of my work.
(I didn't take pics of the painted wall yet)

The back, very flat against the wall.
Down behind the credenza. Thats the outlet I tapped into to bring up behind the TV. And it does still work ;)

New, slim, sleek, flush, streamline
However you want to describe it the SONY KDL46XBR2 was our TV of choice. Why I chose this set. Well it has to most bang for the buck. The specs alone say it all.
Video
Resolution: 1920 x 1080 that means 1080p
Video Features
Backlight Type: WCG-CCFL (Wide Color Gamut - CCFL)
Panel Type: 178° wide viewing angle LCD display panel
7000:1 dynamic contrast ratio with ACE (Advanced Contrast Enhancement) 1300:1 static contrast ratio
Video Processing: Yes (BRAVIA Engine PRO)
DRC® MultiFunction Circuitry: Yes. (Version 2.5)
Comb Filter: 3D
Picture Modes: Vivid/ Standard/ Custom
Wide Mode: Wide Zoom/ Normal/ Full/ Zoom
Light Sensor: Yes
Noise Reduction: Yes
Game Mode: Yes
Audio Features
Sound Mode: Dynamic/ Standard/ Custom
SRS® TruSurround® XT Audio Effect: Yes
Digital Amplifier: Yes
Dolby® Digital: Yes
A/V Synch: Yes
Audio
Steady Sound® Automatic Volume Control: Yes
MTS Stereo Decoder: Yes
Audio Power Output: 22W (11W x2)
Inputs and Outputs
Composite Video Input(s): 3 (1 Side /2 Rear)
S-Video Input(s): 1 (Rear)
Component Video (Y/Pb/Pr ) Input(s): 2 (Rear)
Audio In: 5 (1 Side /4 Rear)
Audio Out (Variable/Fixed): 1 (Rear)
Digital Audio Output(s): 1 (Rear)
Headphone Output(s): 1 (Side)
PC Input(s): 1 (Rear) S-Sub 15
HDMI™ Connection(s): 3 (1 Side/ 2 Rear) - 1 rear input has L/R audio inputs
Convenience Features
Picture Freeze: Yes
Favorite Channel: Yes
Channel Skip/Add: Yes
Parental Control (V-Chip): Yes
Input Skip: Yes
Power Save Mode: Yes
Clock: Yes
Sleep Timer: Yes
Timer Events: Yes
Video Label: Yes
Closed Caption (CC): Yes
ID1 Detection: Yes
Speed Surf™ Channel Selection: Yes
Power
Power Consumption (in Operation): 227W
Power Consumption (in Standby): Less than 0.5W
Weights and Measurements
Dimensions (Approx) Width: 49.69" (1262mm) with pedestal; 49.69" (1262mm) without pedestal
Dimensions (Approx) Height: 31.3" (795mm) with pedestal; 28.89" (734mm) without pedestal
Dimensions (Approx) Depth: 12.68" (322mm) with pedestal; 4.76" (121mm) without pedestal
Weight (Approx.): 90.4 lbs (41 Kg) with pedestal; 79.4 lbs (36 Kg) without pedestal
Packaging: 54.49" x 35.75 x 14.8" (1384 x 908 x 376mm); 112.44lbs. (51kg)
Regulation and Standard Compliance
VESA: Yes
Energy Star® Compliant: Yes
General
Screen Size: 46" 1
Supplied Accessories
Remote Control (RM-YD010)
Battery (AA x2)
HD-15 to HD15 Cable
Operating Instructions
Quick Setup Guide
Pedestal Stand
Optional Accessories
CRU46X1W (Color Bezel - Artic White)
CRU46X1B (Color Bezel - Velvet Black)
CRU46X1R (Color Bezel - Scarlet Red)
CRU46X1L (Color Bezel - Pacific Blue)
CRU46X1T (Color Bezel - Sienna Brown)
Wall Mount Bracket (SU-WL51)
Colors
Medium Silver
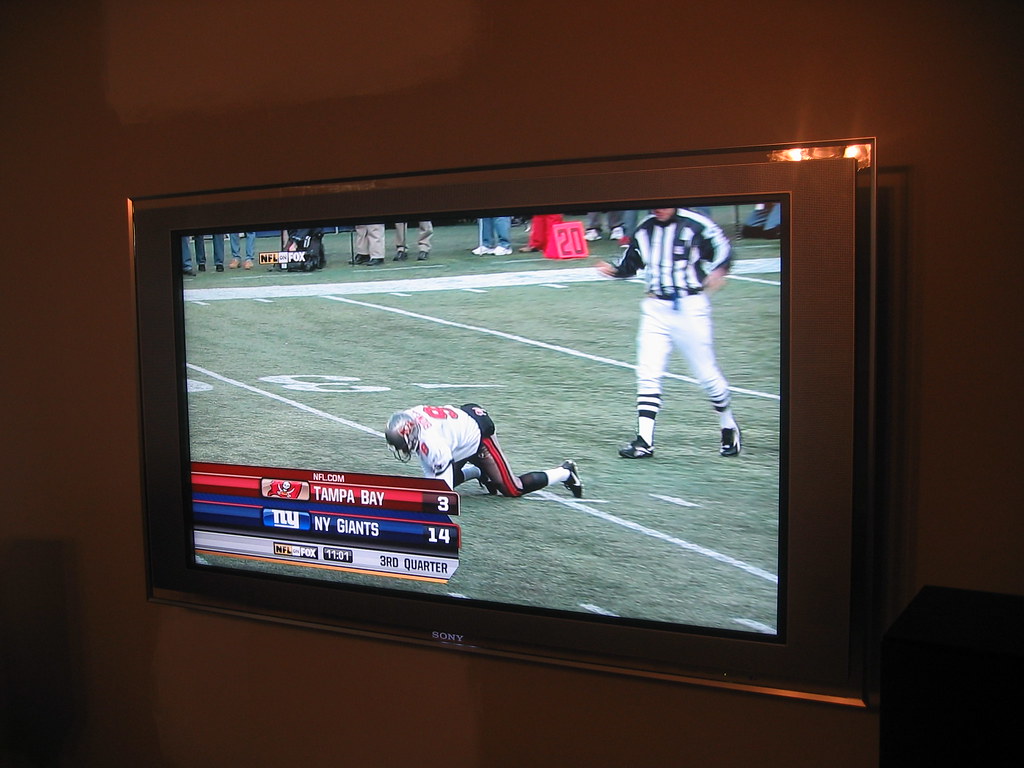
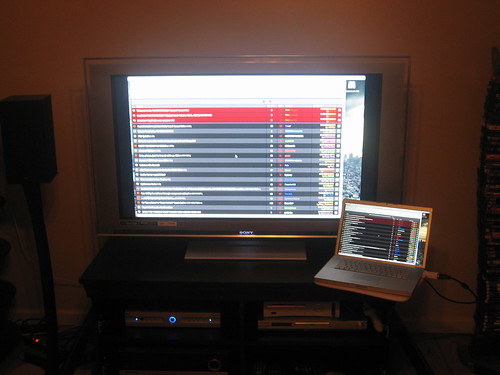
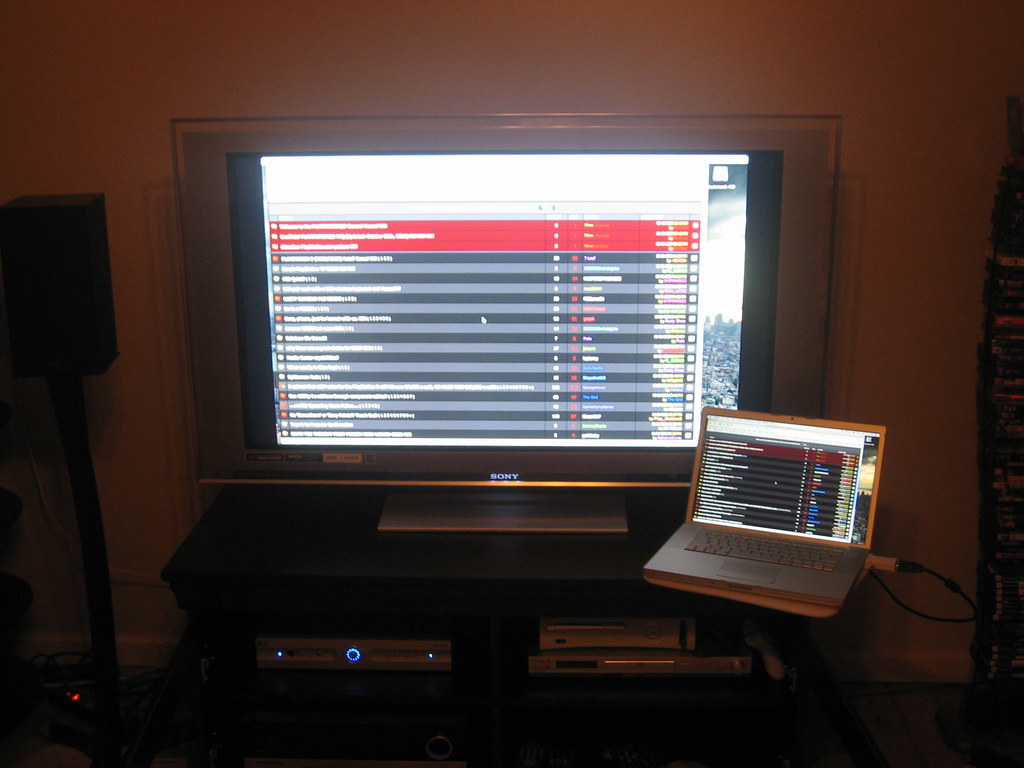
Here it is. As you can see it's not just for watching TV.

LCD's have many advantages.
Video
Resolution: 1920 x 1080 that means 1080p
Video Features
Backlight Type: WCG-CCFL (Wide Color Gamut - CCFL)
Panel Type: 178° wide viewing angle LCD display panel
7000:1 dynamic contrast ratio with ACE (Advanced Contrast Enhancement) 1300:1 static contrast ratio
Video Processing: Yes (BRAVIA Engine PRO)
DRC® MultiFunction Circuitry: Yes. (Version 2.5)
Comb Filter: 3D
Picture Modes: Vivid/ Standard/ Custom
Wide Mode: Wide Zoom/ Normal/ Full/ Zoom
Light Sensor: Yes
Noise Reduction: Yes
Game Mode: Yes
Audio Features
Sound Mode: Dynamic/ Standard/ Custom
SRS® TruSurround® XT Audio Effect: Yes
Digital Amplifier: Yes
Dolby® Digital: Yes
A/V Synch: Yes
Audio
Steady Sound® Automatic Volume Control: Yes
MTS Stereo Decoder: Yes
Audio Power Output: 22W (11W x2)
Inputs and Outputs
Composite Video Input(s): 3 (1 Side /2 Rear)
S-Video Input(s): 1 (Rear)
Component Video (Y/Pb/Pr ) Input(s): 2 (Rear)
Audio In: 5 (1 Side /4 Rear)
Audio Out (Variable/Fixed): 1 (Rear)
Digital Audio Output(s): 1 (Rear)
Headphone Output(s): 1 (Side)
PC Input(s): 1 (Rear) S-Sub 15
HDMI™ Connection(s): 3 (1 Side/ 2 Rear) - 1 rear input has L/R audio inputs
Convenience Features
Picture Freeze: Yes
Favorite Channel: Yes
Channel Skip/Add: Yes
Parental Control (V-Chip): Yes
Input Skip: Yes
Power Save Mode: Yes
Clock: Yes
Sleep Timer: Yes
Timer Events: Yes
Video Label: Yes
Closed Caption (CC): Yes
ID1 Detection: Yes
Speed Surf™ Channel Selection: Yes
Power
Power Consumption (in Operation): 227W
Power Consumption (in Standby): Less than 0.5W
Weights and Measurements
Dimensions (Approx) Width: 49.69" (1262mm) with pedestal; 49.69" (1262mm) without pedestal
Dimensions (Approx) Height: 31.3" (795mm) with pedestal; 28.89" (734mm) without pedestal
Dimensions (Approx) Depth: 12.68" (322mm) with pedestal; 4.76" (121mm) without pedestal
Weight (Approx.): 90.4 lbs (41 Kg) with pedestal; 79.4 lbs (36 Kg) without pedestal
Packaging: 54.49" x 35.75 x 14.8" (1384 x 908 x 376mm); 112.44lbs. (51kg)
Regulation and Standard Compliance
VESA: Yes
Energy Star® Compliant: Yes
General
Screen Size: 46" 1
Supplied Accessories
Remote Control (RM-YD010)
Battery (AA x2)
HD-15 to HD15 Cable
Operating Instructions
Quick Setup Guide
Pedestal Stand
Optional Accessories
CRU46X1W (Color Bezel - Artic White)
CRU46X1B (Color Bezel - Velvet Black)
CRU46X1R (Color Bezel - Scarlet Red)
CRU46X1L (Color Bezel - Pacific Blue)
CRU46X1T (Color Bezel - Sienna Brown)
Wall Mount Bracket (SU-WL51)
Colors
Medium Silver
Here it is. As you can see it's not just for watching TV.

LCD's have many advantages.
The monster is out the house
And thank God too.
This is the monster I am referring too.
This is the Mitsubishi WS-65908. I loved this TV when I first got it. It had great spacs for it's time.
Mitsubishi's Diamond Series™ WS-65908 HD-Upgradeable Television
Features
# Anti-Glare Screen Shield
# DPM3™ (Diamond Digital Pixel Multiplier™)
# MicroFine™ Phosphor CRTs
# Motion-Adaptive 3D-Y/C 480-Line Comb Filters
# High-Speed Velocity Scan Modulation (HVSM)
DIAMOND VISION® Optical System which includes:
# Premium CRTs for a brighter image with improved focus
# Precision beam control for enhanced resolution
# Front-surface mirrors for a brighter picture and no double images
# Tru-Focus™ Lenses
# QuadField Focus
# Five Picture Format Modes
# Film Mode
# Multi-Image Viewing
# VGA Input
# DiamondBrite™ Screen
# Dynamic White Balance
# Dual progressive scan (480P)/ interlaced (480i)
# Front AV Inputs with S-Video
# 64-Point Convergence System
# AV Memory by input
# Color Temperature Control
# V-Chip Hours
# Two-way stereo speakers
# Gold-Plated Connectors
# 5-Layer Illuminated Remote Control
# Deluxe High-Gloss Cabinet
# Two-Piece Cabinet
I've had it for over 5 years now (more). As of late I've begun to hate it b/c of it's massive physical size. look at it's back.
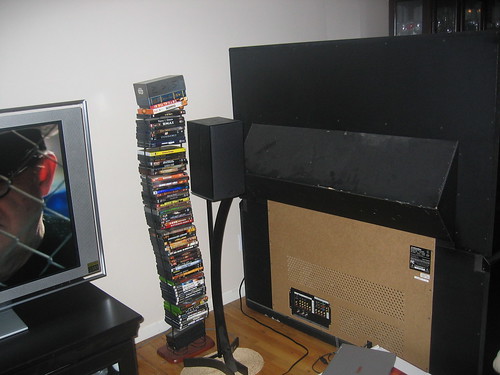
So my wife and I agreed on replacing it. You might already see who it's replacement is.
This is the monster I am referring too.

This is the Mitsubishi WS-65908. I loved this TV when I first got it. It had great spacs for it's time.
Mitsubishi's Diamond Series™ WS-65908 HD-Upgradeable Television
Features
# Anti-Glare Screen Shield
# DPM3™ (Diamond Digital Pixel Multiplier™)
# MicroFine™ Phosphor CRTs
# Motion-Adaptive 3D-Y/C 480-Line Comb Filters
# High-Speed Velocity Scan Modulation (HVSM)
DIAMOND VISION® Optical System which includes:
# Premium CRTs for a brighter image with improved focus
# Precision beam control for enhanced resolution
# Front-surface mirrors for a brighter picture and no double images
# Tru-Focus™ Lenses
# QuadField Focus
# Five Picture Format Modes
# Film Mode
# Multi-Image Viewing
# VGA Input
# DiamondBrite™ Screen
# Dynamic White Balance
# Dual progressive scan (480P)/ interlaced (480i)
# Front AV Inputs with S-Video
# 64-Point Convergence System
# AV Memory by input
# Color Temperature Control
# V-Chip Hours
# Two-way stereo speakers
# Gold-Plated Connectors
# 5-Layer Illuminated Remote Control
# Deluxe High-Gloss Cabinet
# Two-Piece Cabinet
I've had it for over 5 years now (more). As of late I've begun to hate it b/c of it's massive physical size. look at it's back.

So my wife and I agreed on replacing it. You might already see who it's replacement is.
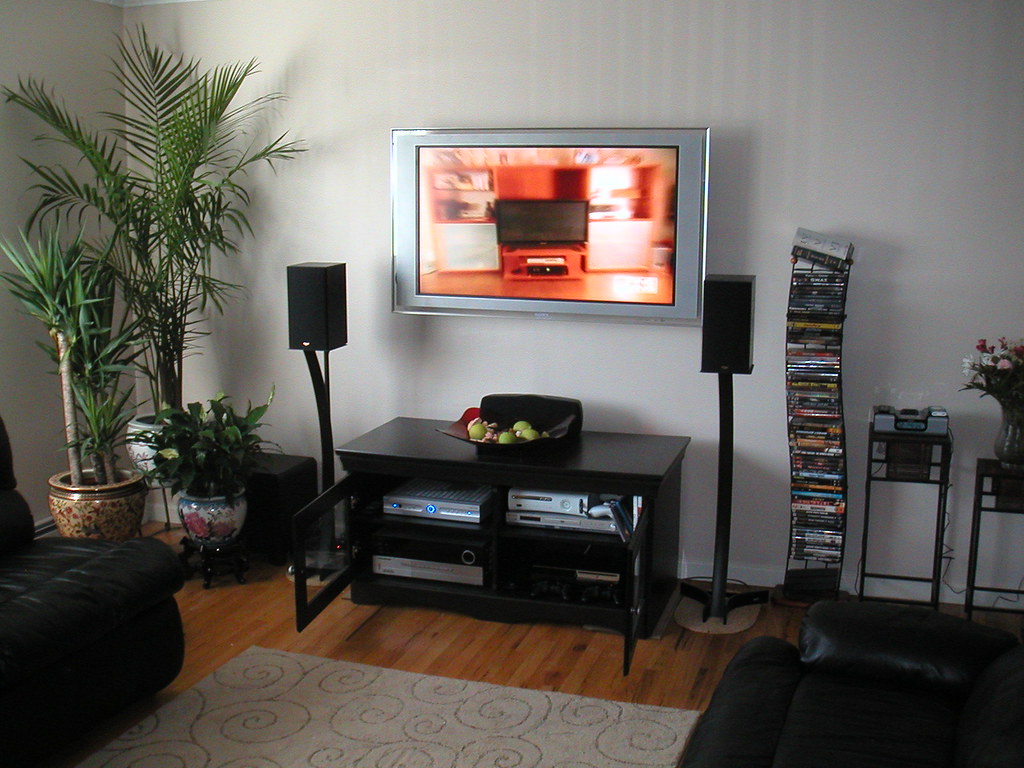
My setup
My current setup;
SONY KDL46XBR2
HARMAN KARDON AV 630
Klipsh Bookshelf systems
HR20-700
Panasonic Progressive Scan DVD
Xbox 360
Sony Playstation 3 soon to come.
SONY KDL46XBR2
HARMAN KARDON AV 630
Klipsh Bookshelf systems
HR20-700
Panasonic Progressive Scan DVD
Xbox 360
Sony Playstation 3 soon to come.
Back again with Home Theater talk
So I am back again. Like my other blog I've been here before. More to come.
Subscribe to:
Posts (Atom)
